All About Creating VR Video: What I Learned In NEW 400/600
We are entering an era of virtual reality (VR). VR technology can not only be used in games, but also in journalism, education, therapy and other fields. For students who are interested in a high-tech news reporting method, here I introduce the process of creating a VR video.
VR shooting is not as hard as you might imagine. Just pick the right equipment, and you are halfway to success. In the class, you will be given the permission to get access to 360 cameras in the Cage, Newhouse 2. There are two kinds of them that you can borrow: Samsung Gear 360 and Nikon KeyMission 360. Both of them have their pros and cons.
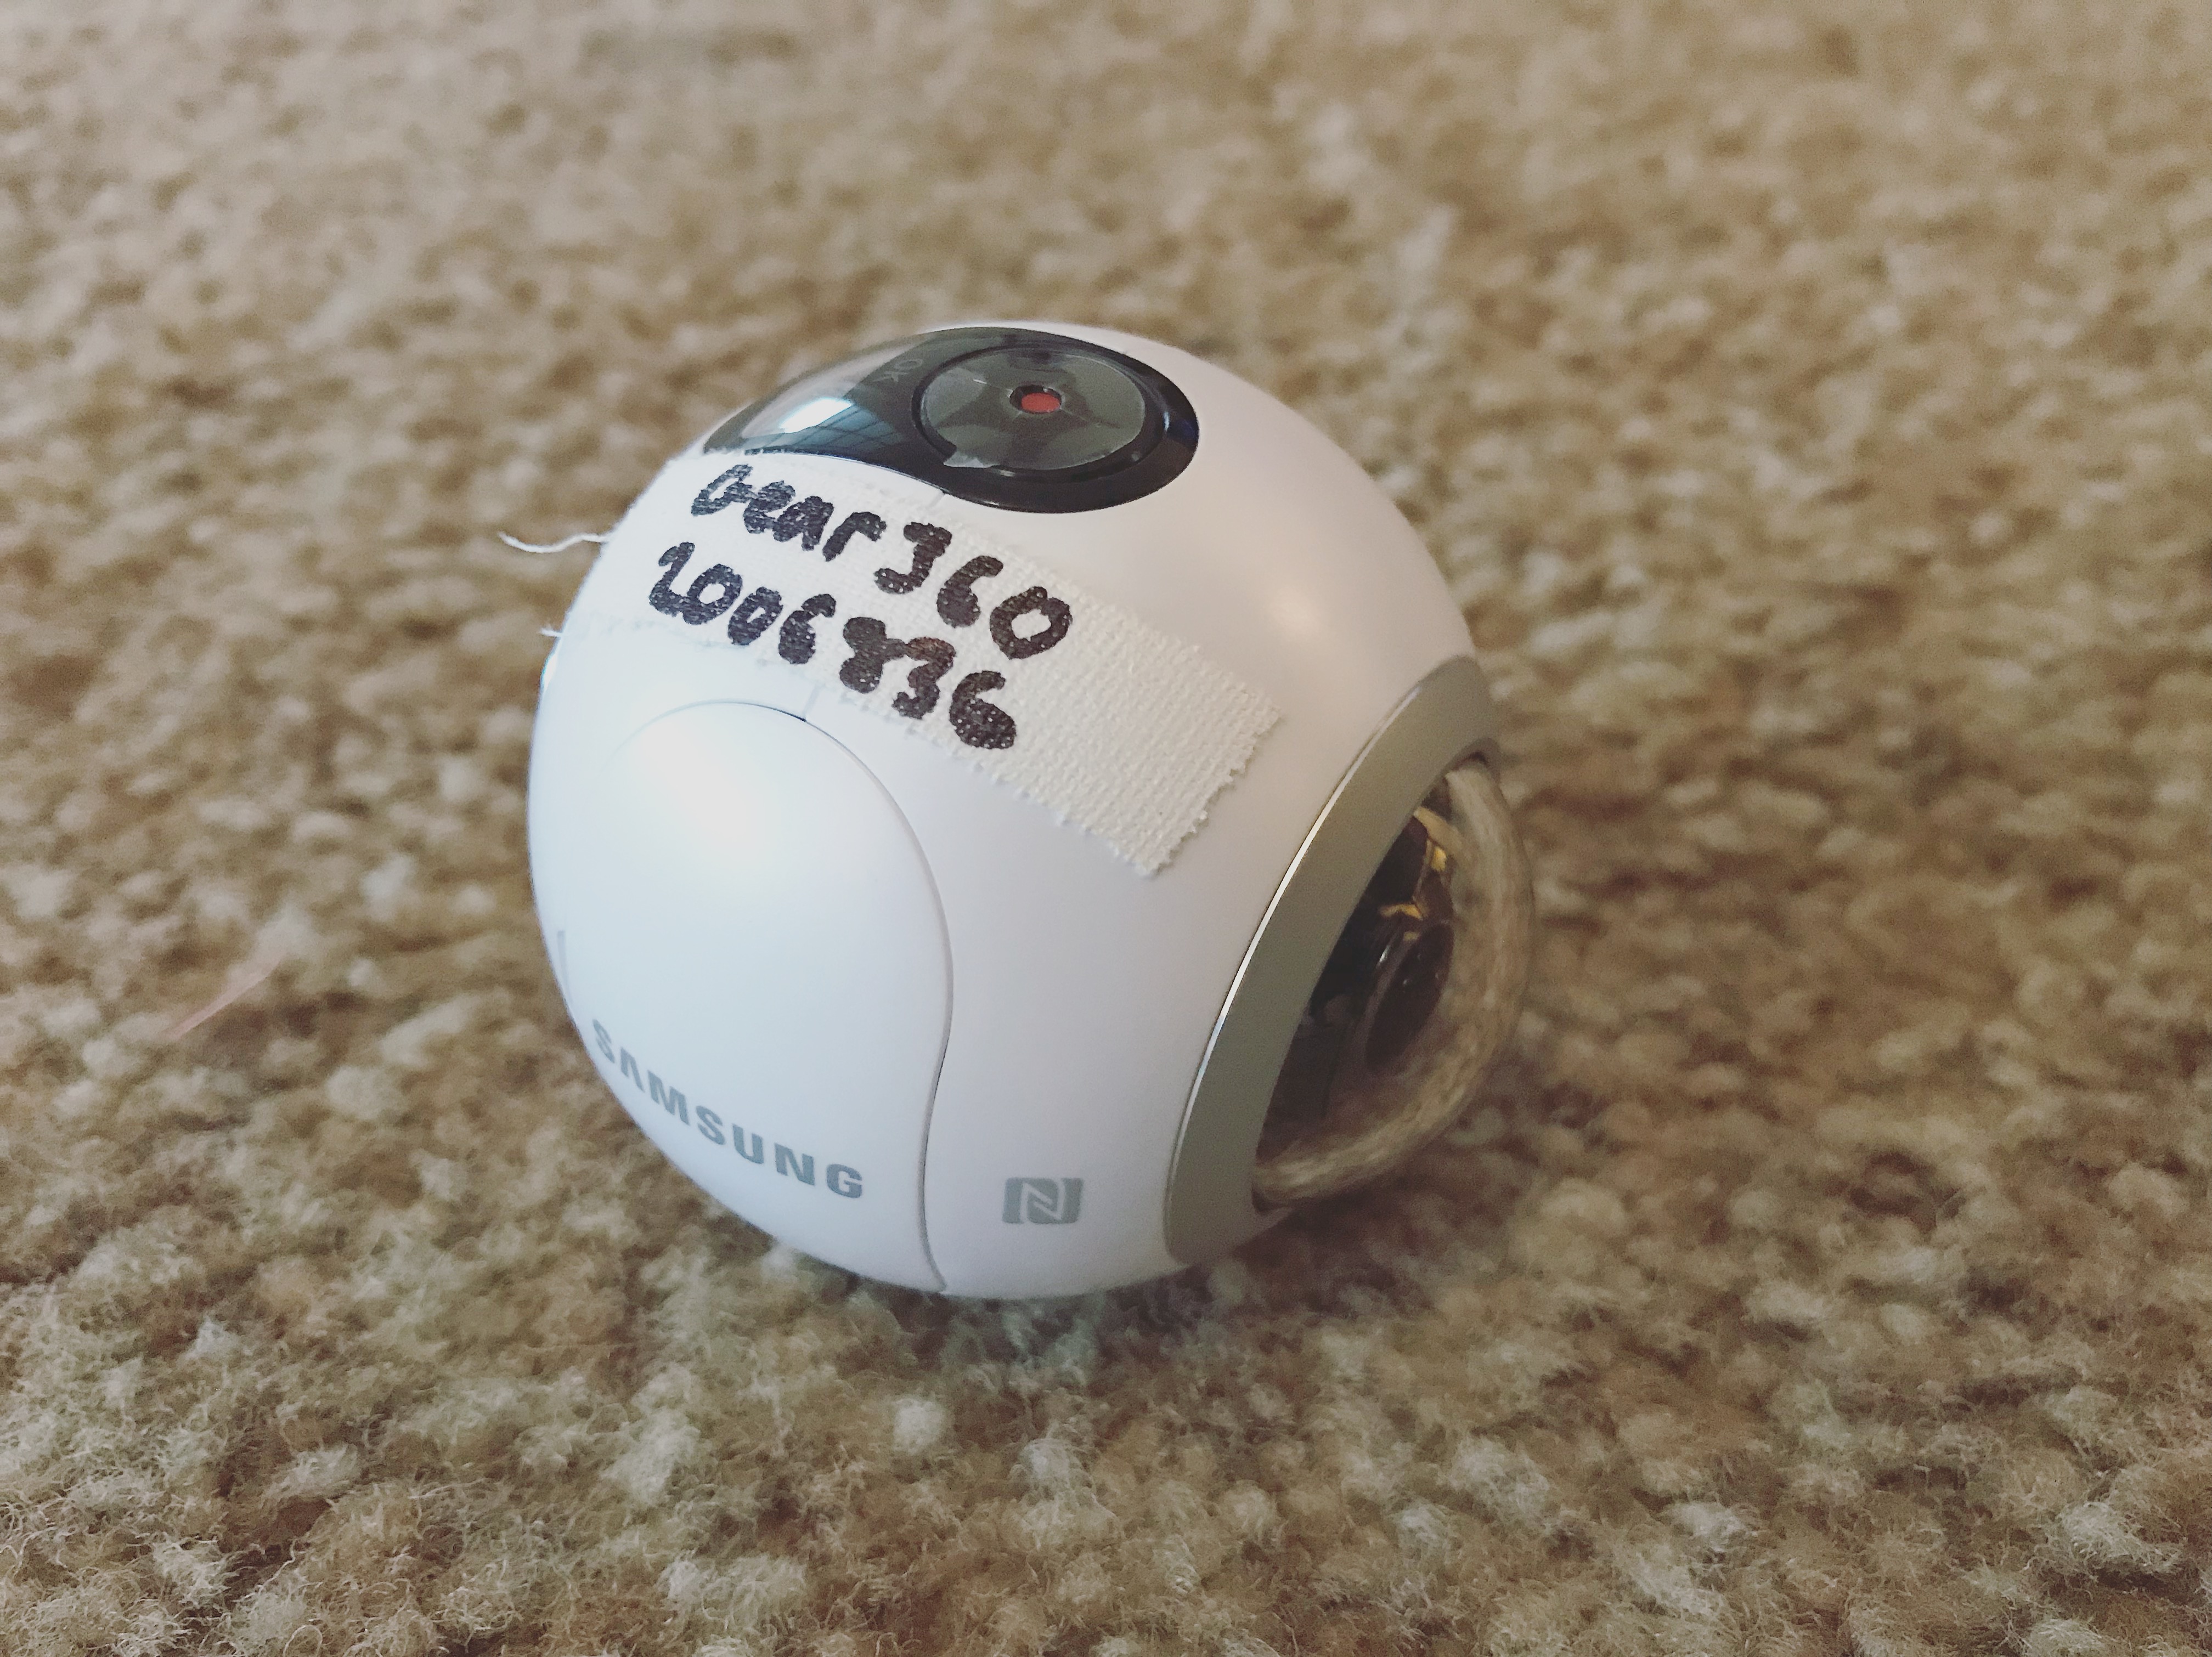
Firstly, let’s take a look at the video solution and photo solution. Samsung is capable of recording 3840 x 1920 at 30 fps with 30 megapixels, while Nikon can record 3840 x 2160 at 24 fps with 23.9 megapixels. Their key specifications decide the quality of videos. With Nikon, though you can get a wider view, you may lose a lot of details and your video looks soft. Samsung wins in the first round.
Secondly, it’s necessary to find if the camera is vulnerable. Nikon is water resistant up to 30 meters, while Samsung is not waterproof at all. Nikon is also shockproof, up to 2 meters, and Samsung is not. It seems Nikon is much tougher than Samsung.
Last, we focus on stitching. Stitching in VR literally refers to taking all the footage from all the cameras in the rig, and arranging them into a single image. In order to stitch our video shot by Samsung, we need to export our video to the app “Gear 360 Action Director” and wait until it has been automatically edited by the app. However, things become easier if you use Nikon; the video gets stitched internally, which means you don’t need to export and waste time waiting. After comparison, we can conclude that Nikon is ideal for those who care less about video quality, but are more afraid of destroying the equipment and also want to finish editing quickly. Samsung is also a better choice for those who want clear videos.
After picking your equipment, you can start to shoot. Put the camera on the tripod or just hold it with your hand if you like, choose the “recording” mode, push the “on” button, then it starts. That’s all there is about VR shooting. Pretty easy, right? But remember, a 360 camera is able to capture every detail around it, so if you don’t want to appear in the video, find a place to hide. Meanwhile, you should also keep an eye on your equipment; you want to disappear, but you don’t want your equipment to disappear.
Then it comes to video editing. We can simply edit our video in Adobe Premiere. Cut it, add special effects, add subtitles…just do what you do when editing normal videos. You can also turn on the VR mode in the Program Panel to see what your video looks like in the VR glasses.
All of the above is what I learned about creating VR videos in NEW 400/600. The professor also taught us how to create VR game scenes with Unity3D, and how to scan a real object and put the its 360 image into VR scene. Explore more about the class at its official website, and you will learn more than you expected.